

We regularly use virtual devices like iPhones and iPads. One of the first things we do after purchasing a new device is personalizing it by changing its settings. Giving it a unique name is one such setting. Renaming your iPhone or iPad can be useful if you have many devices and want to distinguish them quickly.
This post will go over how to rename your iPhone or iPad step-by-step, making it simpler to recognize and personalize. Whether you want to give your device a creative moniker or keep things straightforward, we have options. So now that we know how to rename your iPhone or iPad, let’s start!
How to change the name of your iPhone?
Renaming your iPhone is a straightforward process that can be done in a few simple steps. Here’s how you can change the name of your iPhone:
1. Go to settings
To change the name of your iPhone, first open the Settings app. You can find it easily on your home screen or use the search function by swiping down and typing “settings” in the search bar.
2. Click General
Once you access the Settings app on your iPhone, navigate to the “General” tab, where you’ll discover various settings options for your device.
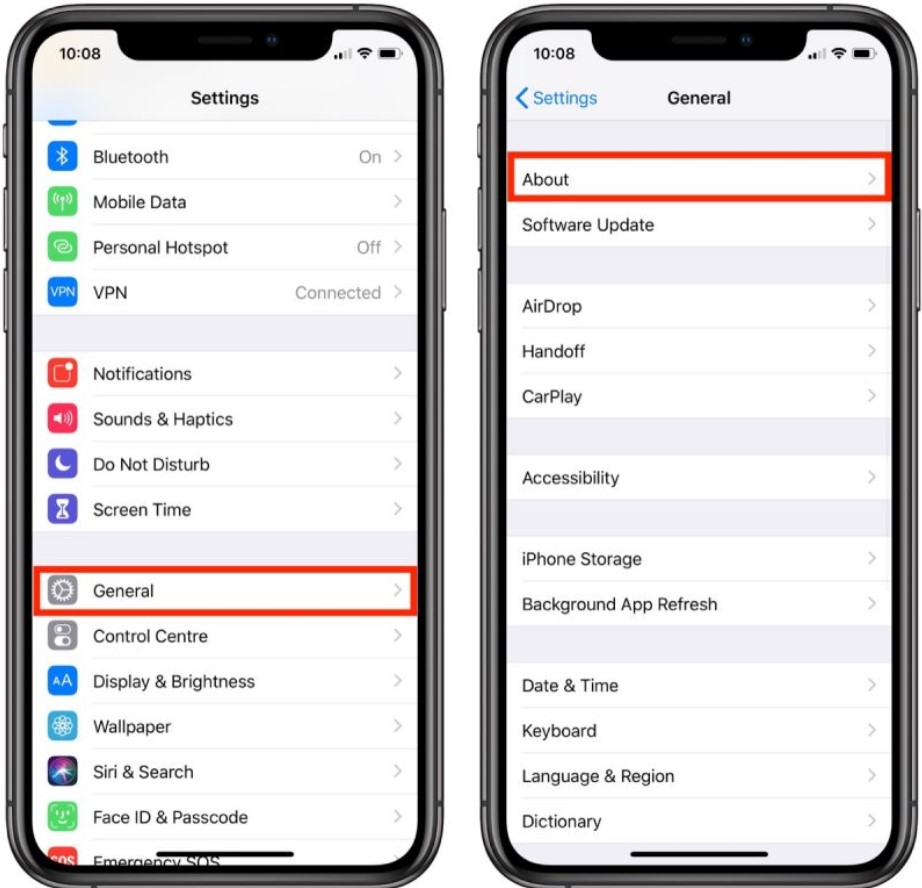
3. Click About
Once you access the General tab, select “About.” This page provides you with various details about your device, such as the serial number, and it’s where you can also change the name of your iPhone.
4. Click Name
After reaching the About page, select the “Name” option to proceed with changing the name of your iPhone.

5. Change the name of your iPhone
After reaching the About page, select the “Name” option to proceed with changing the name of your iPhone/iPad.
That’s it! Your iPhone will now display the unique name you’ve chosen in various places, including iTunes, when you connect your device to your computer and on other devices when using AirDrop or Wi-Fi connections.
How to change the name of your iPad?
To make it simpler to find your iPad on iCloud or when someone wants to AirDrop files to you, you can rename the name of your iPad.
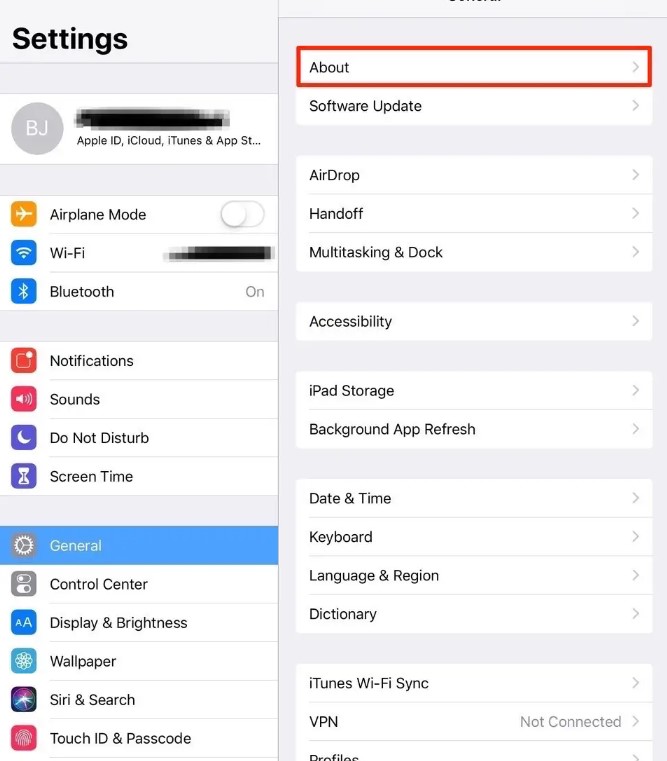
- Go to the home screen of your iPad and tap on the “Settings” app.
- Scroll down and tap on “General.”
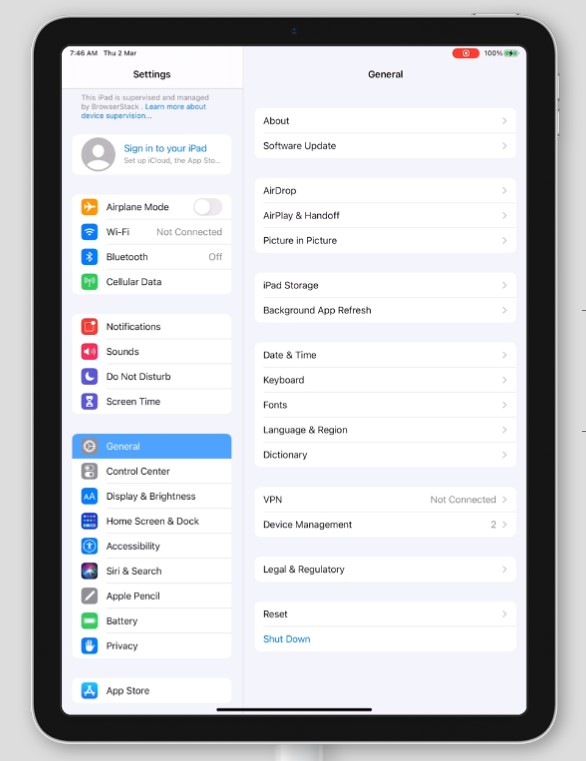
- Next, tap “About” at the top of the page.
- On the About page, you will see the current name of your iPad at the top. Tap on it.
- A new page will open where you can change the name. Simply delete the existing name and enter your new name for your iPad.

- After entering the new name, tap “Done” to save the changes.
- Your iPad will now display the new name you have given it.
Conclusion
In conclusion, renaming your iPhone or iPad is a straightforward process that allows you to personalize your device and make it easier to identify. Whether you want to keep it simple or get creative with a unique name, the process can be done in just a few easy steps.
Following the steps outlined in this article, you can quickly and easily change your device’s name to your desired one. Remember that renaming your iPhone or iPad won’t affect your device’s settings or data, so feel free to change it as often as you like. So, give it a try and make your device uniquely yours today!