

Screen capturing is an essential feature that comes in handy for various tasks on a Mac. Knowing how to take screenshots efficiently is crucial, whether you need to save an important piece of information, demonstrate a process, or simply capture a moment on your screen.
However, capturing screenshots is only the first step. It is equally important to highlight and annotate the captured screenshots to effectively convey your message and draw attention to specific details.
In this article, we’ll learn how to take screenshots on a Mac and discover ways to highlight them. Plus, we’ll see some tips and tricks to improve your skills in highlighting screenshots.
How to Take a Screenshot on Mac?
1. Screenshot Entire Screen on Mac
Capturing a screenshot on macOS is easy. Press Command + Shift + 3 simultaneously, and your entire screen will be captured and saved automatically on your desktop.
2. Screenshot A Particular Area of the Screen on a Mac
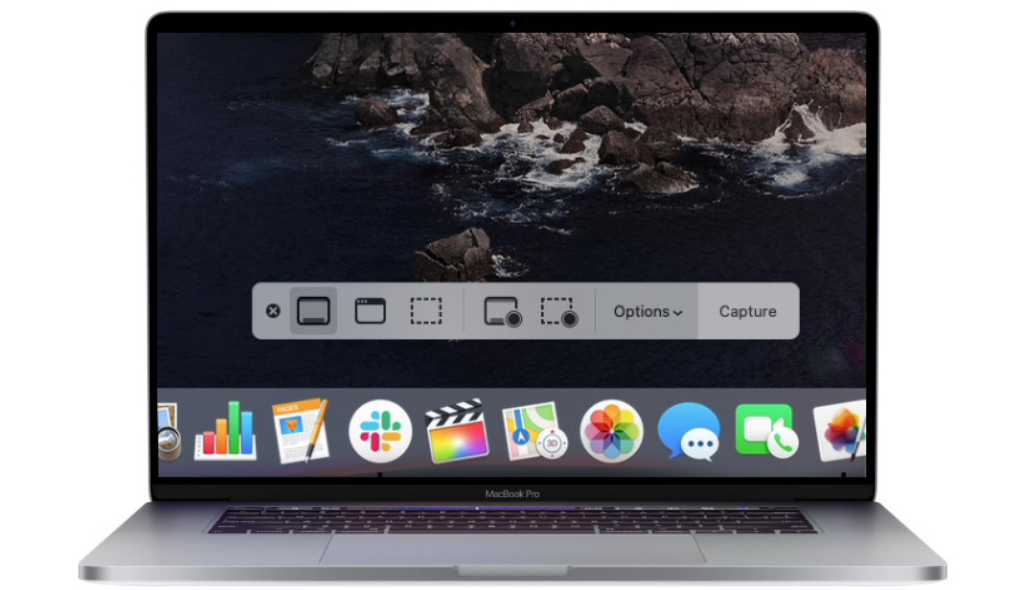
If you prefer capturing a specific area rather than the whole screen, follow these steps:
- Press Command + Shift + 4 simultaneously. Your mouse pointer will turn into a + (crosshair).
- Click and drag your mouse over the desired area for capture. Release the mouse button once done.
- You’ll notice a screenshot of the selected area being saved at the bottom right corner of the screen.
How to Highlight Screenshots on Mac?
After taking a screenshot on your MacBook, you might want to emphasize a specific area to direct attention. This could be achieved by adding an arrow or a box, making it easier for the viewer to understand where to focus. Here’s how to do it:
- Capture the screenshot. Then, click on the saved screenshot in the bottom right corner of the screen to open it in Preview.
- Once the Preview editor is open, access the “Shapes” tool.
- From the drop-down menu, choose the bottom left tool for highlighting.
- Select the highlight option to create a rectangular selection with adjustment handles appearing on the corners and sides.
- Use these handles to select the area you want to highlight in the screenshot. When done, click on “Done.”
- Your screenshot with the highlighted part will then be saved on the desktop.
- If needed, you can save the highlighted screenshot in JPG, PDF, or GIF formats.
Tips and tricks for effectively highlighting screenshots on Mac
Selecting appropriate colors for highlighting
When picking colors to highlight your screenshots, go for ones that stand out and contrast with the background. Bright colors usually work best, but make sure they don’t take away from what you want to show. Try different shades until you find the one that works perfectly.
Using different highlighting techniques for various purposes
Different highlighting techniques can be employed depending on the purpose of your screenshot. For example, if you want to emphasize a particular section, use a solid highlighter. On the other hand, if you want to draw attention to multiple areas, consider using different colors or styles for each. Experiment with different techniques to make your highlights informative and visually appealing.
Positioning and sizing highlights for optimal visibility
To ensure optimal visibility, pay attention to the positioning and sizing of your highlights. Avoid covering crucial details or making the highlights too small to be easily noticed. It’s important to strike a balance between highlighting the relevant information and maintaining a clean overall look. Take the time to adjust and refine your highlights until they effectively guide the viewer’s attention.
Conclusion
A screenshot is like a picture of whatever is on your screen. You can use screenshots to show others what you’re looking at for later. When you want to make something stand out, it’s good to highlight it in a screenshot.
If you’re using a Mac, you can highlight a screenshot using the Preview tool. Just open the image in the Preview editor and look for the “Shapes” option. Choose the shape, its colors, and how thick the border should be. Then, move the shape to where you want it on your screenshot and hit “Done” to save the changes. Your screenshot will be highlighted!
FAQs
Can I capture screenshots on my Mac without using third-party software?
Yes, absolutely! Mac provides built-in functionality to capture screenshots using keyboard shortcuts or the Grab application. These options are convenient and easy to use, allowing you to capture screenshots without the need for additional software.
Are there any limitations to manually highlighting screenshots on Mac?
While manually highlighting screenshots on Mac using the Markup tool is effective, it does have some limitations. The built-in tools may not offer advanced highlighting features or precise control over customization options. In such cases, utilizing third-party software can provide more flexibility and a wider range of highlighting capabilities.
What are some popular third-party software options to highlight screenshots on Mac?
There are several reputable third-party software options available for highlighting screenshots on Mac. Some popular choices include Skitch, Snagit, and Lightshot. These tools offer advanced annotation features, customizable highlighting options, and additional editing capabilities to enhance your screenshots.